Game Guides
Modern Warfare 4 DMZ: 7 Mistakes to Avoid on Your First Extraction
Prepare for Modern Warfare 4 DMZ with seven mistakes to avoid, covering your first loadout, objectives, escalation, loot, and extraction planning.

 Add Gaming.net to your preferred sources on Google
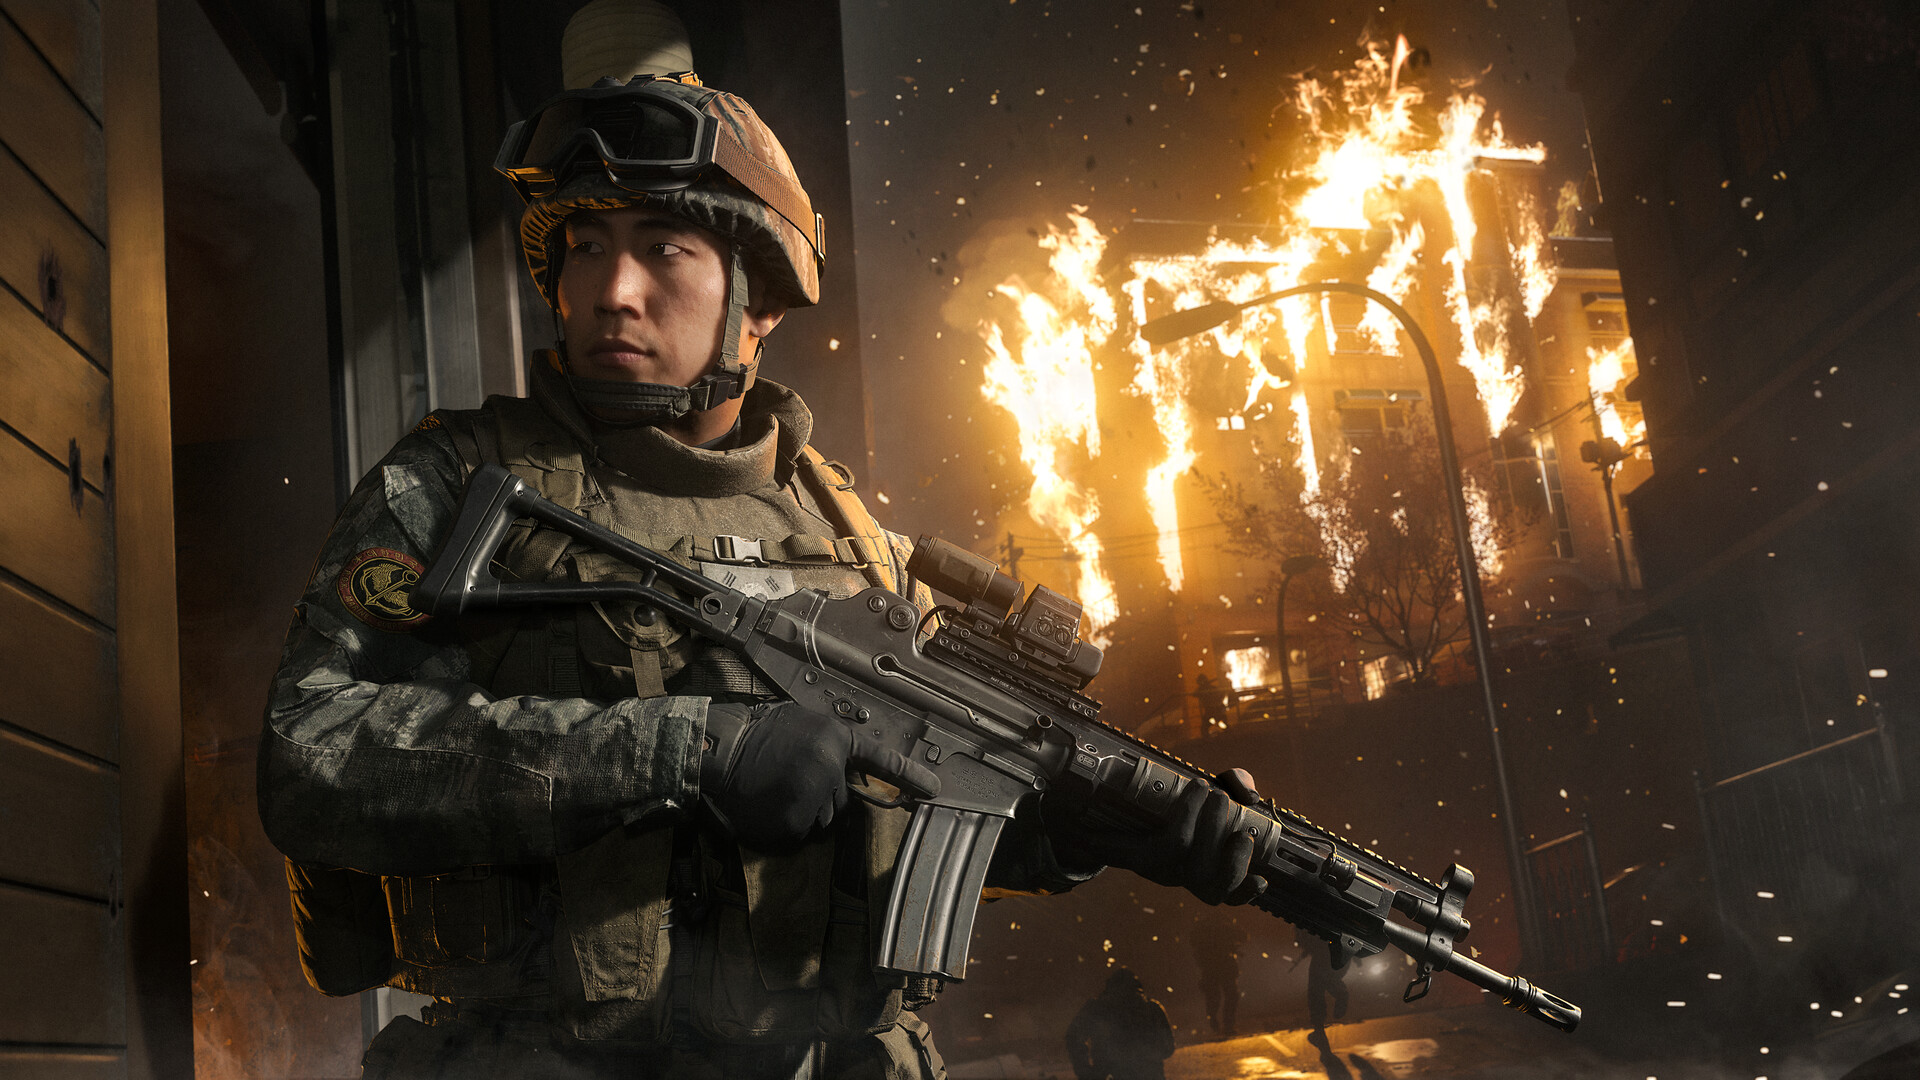
A successful first DMZ deployment does not need to end with a backpack full of rare equipment and a dramatic last-second escape. Getting into Hajin with a clear plan, learning something useful, and bringing your Operator home is already a worthwhile start. The trouble usually begins when a simple objective turns into three extra detours.
Modern Warfare 4’s DMZ early access is scheduled for October 20, ahead of the October 23 full release. These tips draw on Activision’s official DMZ breakdown and published launch guides. They are preparation advice for the announced systems, with no assumptions about a settled weapon meta or shortcuts carried over from the original DMZ beta.
7. Deploying without one clear objective
Before you ready up, decide what a good result would look like. You might want to understand a particular route, bring back useful supplies, or make progress on an introductory objective. Agree on that goal with your squad while you can still discuss it without an enemy interrupting.
The new Forward Operating Base includes a DMZ Orders station that presents mission directives. Use that structure rather than dropping in with the vague intention of finding something interesting. Give yourself one main task and treat anything else as optional. A manageable objective makes it much easier to recognize when a deployment has already given you enough reason to leave.
6. Carrying more equipment than you are willing to lose
A new weapon is exciting, but an unfamiliar route is a poor place to risk every useful item you own. Check the difference between the gear you are taking into a deployment and the supplies you are leaving behind. Being able to afford a replacement is part of being prepared.
Activision’s FOB guide distinguishes the Stash from your equipped Loadout and carried Backpack. Build a kit around the job you have chosen, then leave unnecessary valuables behind. For an early learning run, familiarity and a clear purpose matter more than arriving with the most elaborate setup available.
5. Treating every enemy as a reason to start a fight
Hajin contains AI forces and rival human Operators. A visible enemy is information first: a possible obstacle, a warning about a route, or a fight you may not need. Shooting immediately removes your chance to consider those alternatives.
The announced threat system can escalate enemy responses as your actions attract attention. Before engaging, ask what the squad gains and where it can move afterward. If the answer is simply that the target is there, keep watching. Your first extraction is a good opportunity to practice leaving an unnecessary fight alone, especially when you already have something worth bringing home.
4. Letting the squad make three different decisions
One player wants to push, another is checking an objective, and the third has begun moving away. That disagreement is much easier to fix before the first shot. Use short calls that describe your intention, then wait for the others to acknowledge a change of plan.
Give each call a recognizable location or task. “Moving back to the building we entered from” is more useful than “over here.” If an encounter goes badly, start by identifying where the squad stopped acting together. Better communication will not make every decision correct, but it gives everyone a chance to respond to the same situation.
3. Picking up loot without knowing why you want it
A backpack can fill with items that look promising while offering very little help with the task in front of you. Before collecting something, think about its purpose: immediate survival, an objective, future equipment, or something you intend to sell.
DMZ’s official guides distinguish crafting resources from 3D Printer Ingredients, so do not assume every component is handled identically. Read the item information and make deliberate choices. If you are learning the system, returning with a few things you understand is more useful than arriving at the FOB with a collection you cannot explain. Avoid turning each container into a lengthy squad-wide inventory meeting.
2. Planning an escape only after you need one
The moment you decide to leave should not be the first time you think about leaving. While moving through a new area, keep track of where you came from and where the squad can regroup if its current route becomes uncomfortable.
Reassess after completing your main task or acquiring something valuable. A successful objective does not oblige you to accept the next one. Check the information the game provides about extraction and choose a plan together. If the situation changes, say so early; a calm decision made with room to maneuver is easier to execute than a last-second argument about which direction to run.
1. Skipping the preparation between deployments
Treat the return to the FOB as part of the run. Offload what you want to keep, review your objectives, and check what your next Operator is actually carrying. It is easy to assume that a familiar character is still equipped exactly as you remember.
Use a short routine: review, store, equip, agree on a task. The goal is to make the next deployment an informed choice rather than a rushed repeat. If the previous attempt failed, change the part of the plan that caused the trouble. Getting comfortable with that rhythm is a stronger foundation than hoping the next drop will hand you better luck.
For the wider release picture, our Modern Warfare 4 overview covers the game beyond DMZ. Keep the first deployment modest: choose a task, protect the kit you brought, and recognize when it is time to extract.