Game Guides
Final Fantasy Resonance: 7 Combat Mistakes to Avoid Early On
Prepare for Final Fantasy Resonance combat with seven early mistakes to avoid, covering the timeline, stagger, Visions, ability costs, and Espers.

 Add Gaming.net to your preferred sources on Google
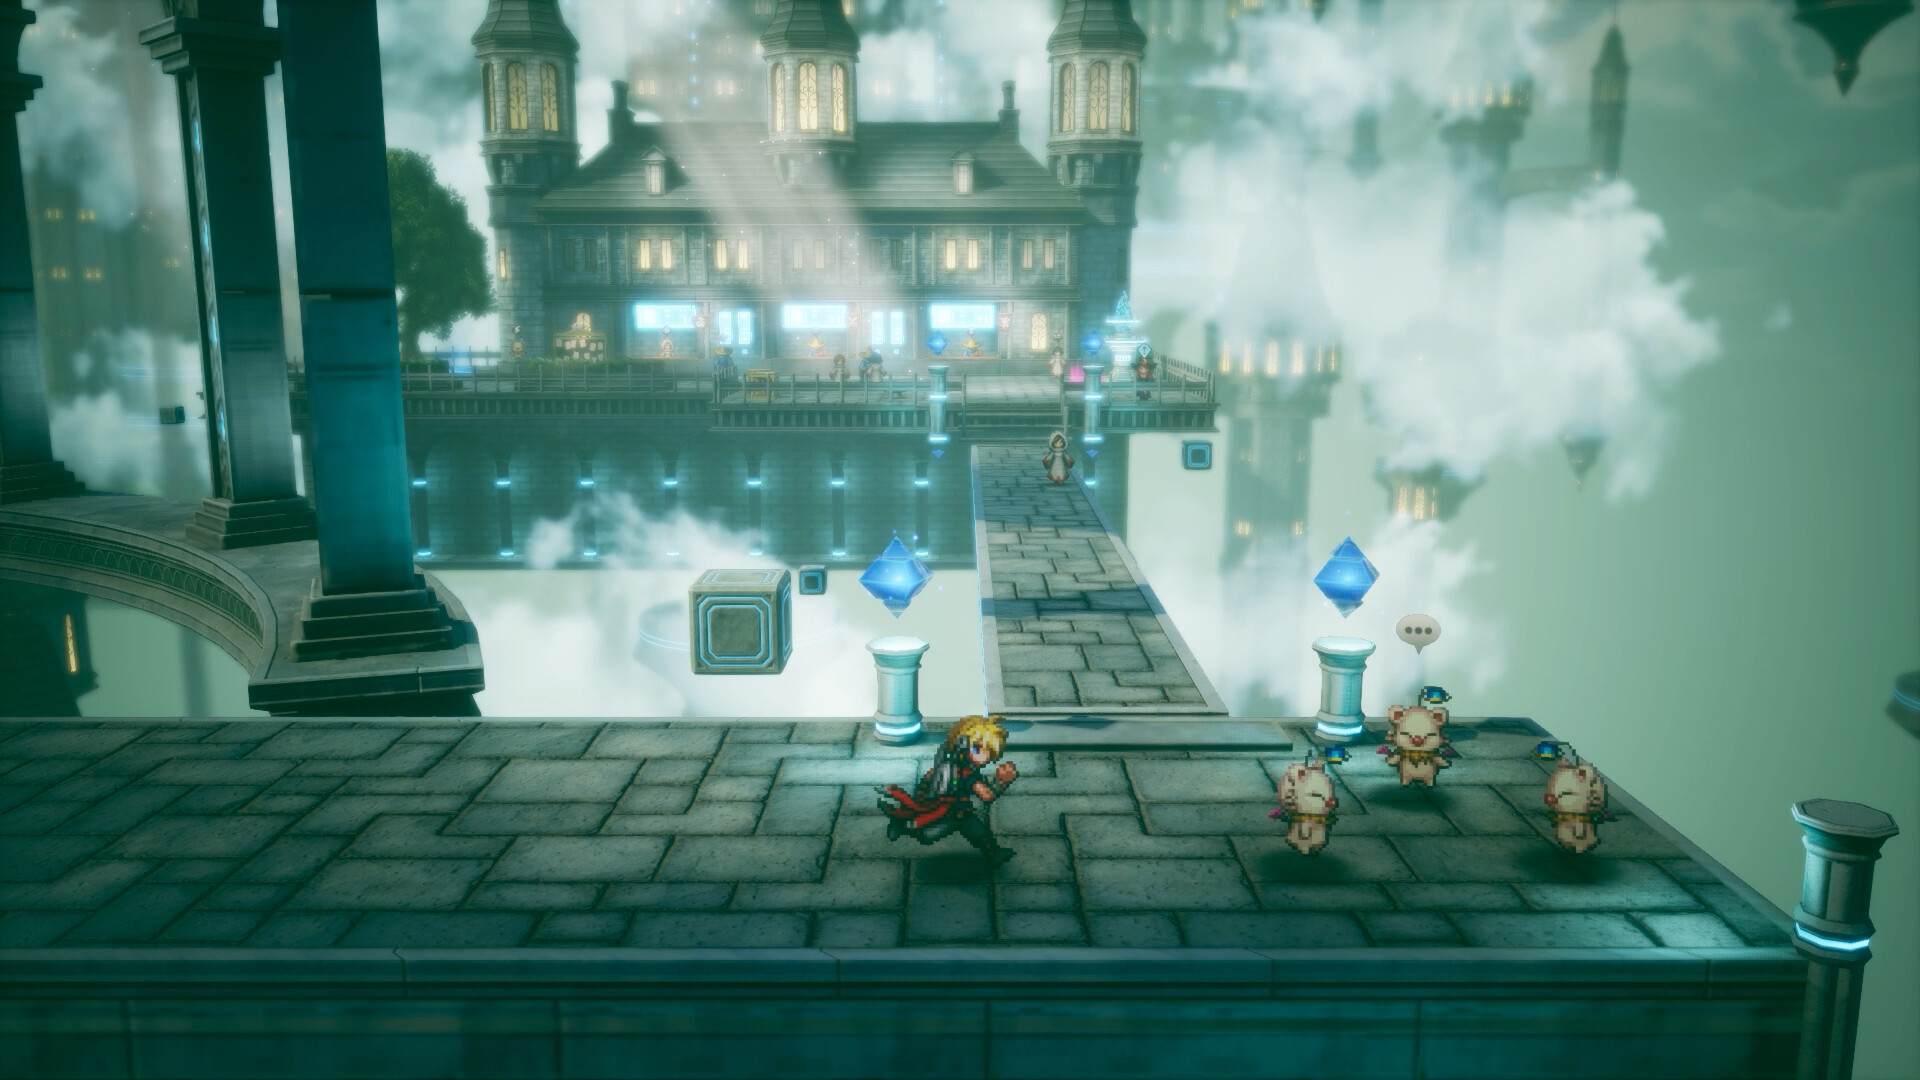
A turn-based battle can go wrong long before anyone runs out of health. You spend a useful ability at the wrong moment, overlook an enemy’s next action, or equip an exciting new option without checking what the rest of the party needs. Final Fantasy Resonance gives you several systems that reward a little planning before you select a command.
Naturally, these seven mistakes are worth keeping in mind. They use Square Enix’s official explanation of combat and Visions to suggest useful habits. They avoid boss spoilers, unverified unlock locations, and assumptions about an established endgame build.
7. Choosing an action before checking the timeline
The timeline shows the order of allied and enemy actions. Make it your first stop when a character’s turn begins.
Ask who acts next and what the party needs before that happens. You might have room to prepare a stronger sequence, or you may need to address an immediate problem. Looking at the order turns a command from a habit into a decision. If a battle goes badly, try identifying the turn where you stopped considering what would follow your action.
6. Treating stagger as an extra health bar
Staggering an enemy interrupts its turn and reduces its defense. The timing of that break can matter as much as making progress toward it.
Before committing, consider who will act after the enemy becomes vulnerable. A useful opening should have someone ready to exploit it. If you repeatedly create opportunities when the party cannot follow up, think about the sequence rather than simply increasing the number of attacks. You are trying to arrange a better next turn, not only make another meter disappear.
5. Equipping a Vision without a learning plan
Visions let characters learn abilities through battle. Choose one with an idea of what you want that character to contribute.
A useful plan can be simple: improve a weak point in the group or explore an option you have not understood yet. After a few encounters, review the abilities gained and decide whether the experiment is helping. Avoid switching purely because a new icon looks more impressive. Give a setup enough attention to learn what it offers, then change it for a reason.
4. Forgetting abilities after changing Visions
Learned abilities can remain available with a different Vision, within the equipment cost limit. A change does not have to erase the role you have been building.
Review the character’s available options after each swap. You may be able to retain a useful tool while learning something new. Think in terms of tasks the party can handle: recovering from trouble, applying pressure, and taking advantage of an opening. If a new setup leaves an obvious gap, see whether an ability you already learned can fill it before abandoning the experiment.
3. Spending ability capacity without considering the group
Ability costs constrain which learned effects can be equipped together. Use that limit to make deliberate choices.
Begin with the jobs the group needs covered, then decide which character is best placed to handle each one. Several attractive individual setups can still leave the party uncomfortable in the same situation. Read the combination as a whole. If you cannot explain when you would use an equipped ability, it may be taking space from something that better supports your current plan.
2. Ignoring what a Resonance actually provides
A Sweeping Stagger can lead to a Vision-specific Resonance at the end of the Extra Phase. These moves can offer different effects.
Read the current option before treating every opportunity as the same kind of finishing attack. Decide what result would help the party most, then consider how to prepare for it. Afterward, check whether the sequence achieved what you intended. Learning the relationship between your setup and its payoff is more useful than assuming the most dramatic animation always answers the current problem.
1. Summoning an Esper without planning the next turns
Espers remain alongside the party for three turns, ending with a finishing move. Think about that window when deciding to summon.
Look at the battle state and ask how the group can make the period useful. Avoid waiting indefinitely for a perfect moment, but give the decision a purpose. After a difficult encounter, review when the summon entered and whether the party supported the plan around it. A small timing adjustment may be more useful than immediately replacing the rest of your setup.
The free demo covers the opening chapter and supports save transfer to the full game, making it a practical place to learn the basic rhythm. Our release calendar offers wider launch context. Start by checking the timeline before each command; it makes the rest of these decisions much easier to connect.