Game Guides
Stupid Never Dies: All 11 Combat Styles Explained
Meet all 11 Stupid Never Dies combat styles and understand their basic roles, from Werewolf speed and Harpy projectiles to Demon positioning.

 Føj Gaming.net til dine foretrukne kilder på Google
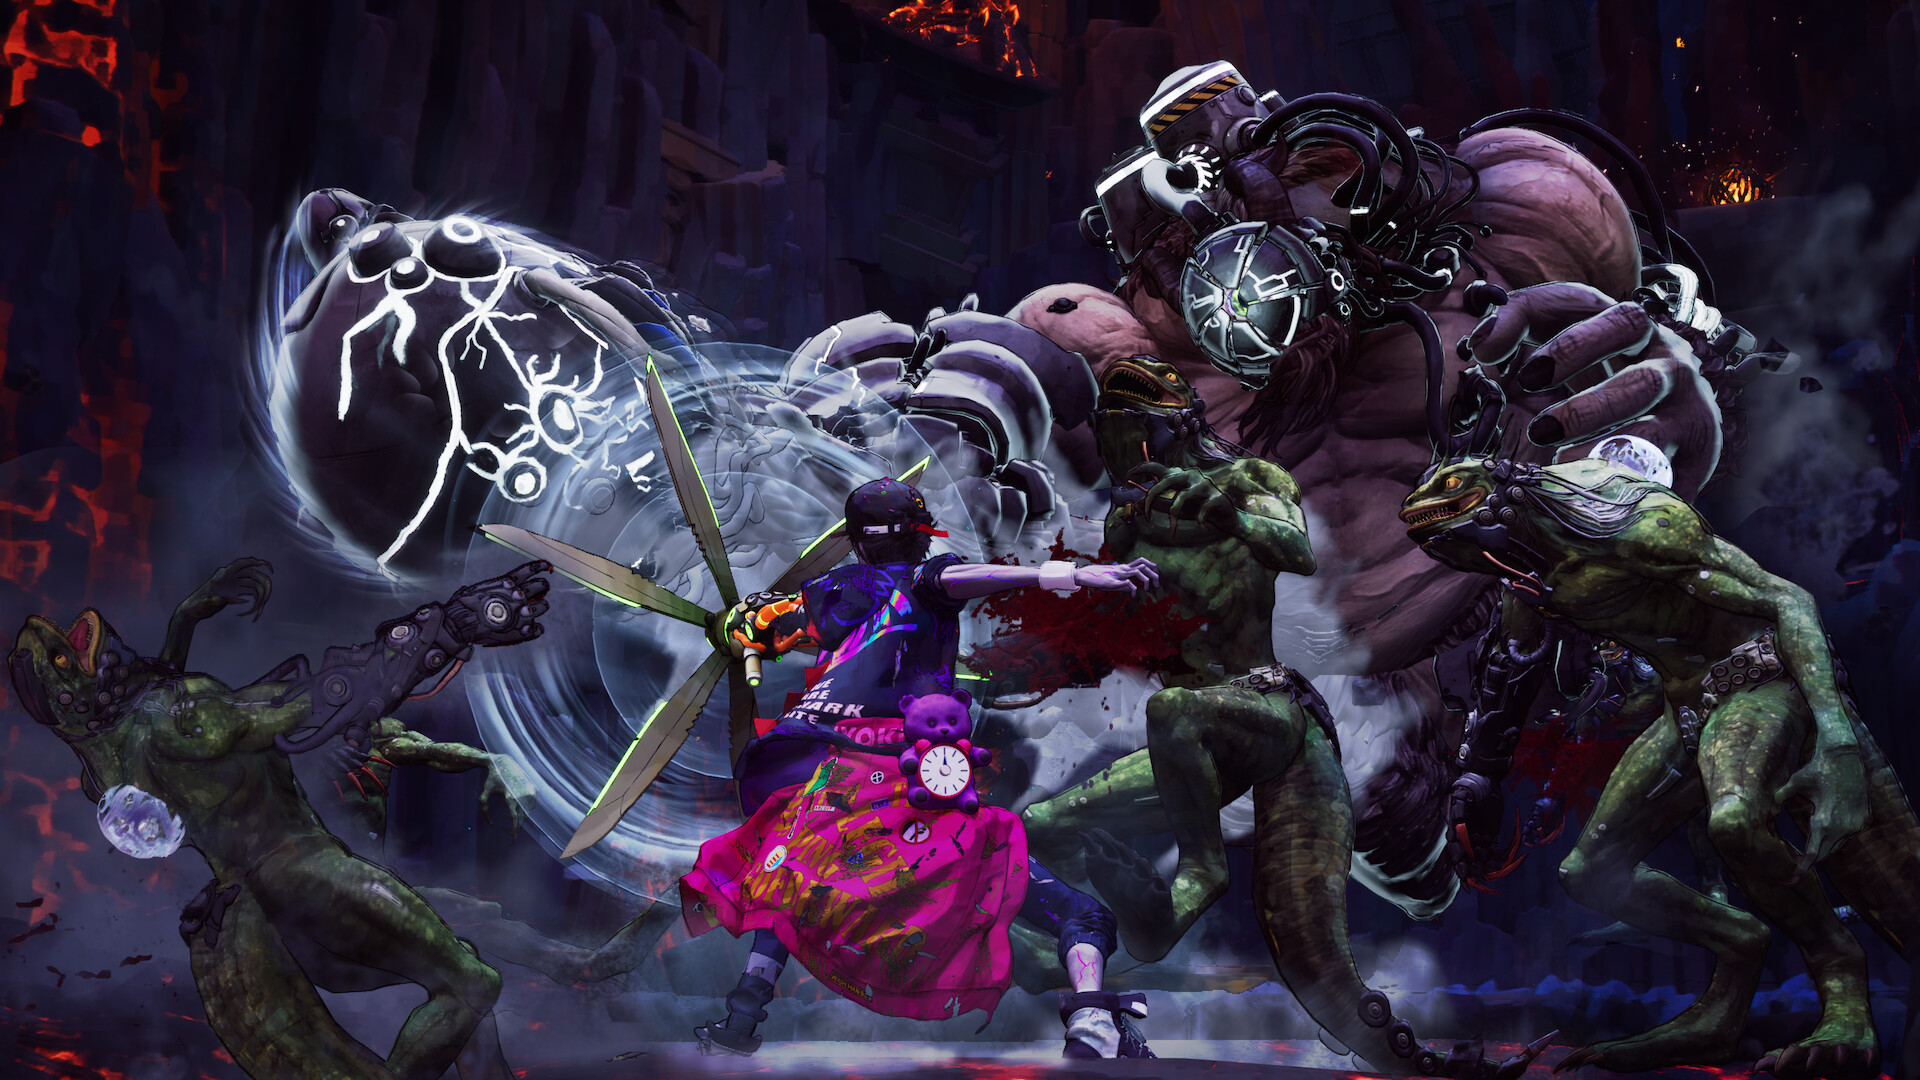
Davy begins Stupid Never Dies as a zombie, but he does not have to fight like one forever. The Style Eat system lets him acquire enemy powers, changing the kind of problems he can tackle. With eleven forms to consider, it helps to understand each one’s basic purpose before worrying about a favorite.
With ten acquired styles alongside the default Zombie Style to learn, this guide will help to explain those announced roles and suggests what to look for when learning them.
11. Zombie Style: your reference point
Zombie is Davy’s default style. Use it as the baseline for understanding how the other forms change your approach.
Before switching frequently, get comfortable recognizing an enemy’s preparation and deciding when to stop attacking. That gives you a useful comparison later: is a different form making a familiar encounter easier, or are you simply pressing more buttons? A dependable starting point helps you learn what each transformation adds.
10. Werewolf Style: speed and pressure
Werewolf emphasizes fast, aggressive action. It is a natural style to investigate if you enjoy staying involved in a fight.
Speed still needs a purpose. Practice approaching a target, making a short commitment, and looking for the next threat before continuing. If a sequence repeatedly leaves you exposed, shorten it. The useful goal is maintaining control while moving quickly, rather than treating a fast form as permission to ignore what the enemy is doing.
9. Harpy Style: aerial ranged attacks
Harpy combines flight with attacks against distant targets. It offers a different perspective on where a fight can take place.
When trying it, watch the relationship between your position and the target you are actually hitting. Distance can make a dangerous-looking exchange feel manageable, but it can also make your surroundings easier to overlook. Establish a recognizable place to return to before experimenting with movement. Learn where you can aim comfortably before adding a more elaborate attack sequence.
8. Golem Style: force against groups
Golem is the sturdy form associated with sending groups of enemies flying. Think about where the surrounding opponents are before committing.
A strong impact is most useful when it leaves you with a clear next decision. After a successful attack, check which enemies remain close and where you can move safely. Avoid judging the form only by the size of its animation. The more useful test is whether it helps you recover control when several threats are competing for attention.
7. Vampire Style: commanding bats
Vampire gives Davy control over a swarm of bats. Start by learning how that attack reaches and follows its targets.
Choose a readable encounter and observe the result of one action at a time. Notice when your intended enemy takes damage and when your attention needs to return to nearby threats. Visual activity can make an attack feel effective before you understand it. A clear idea of what the swarm is accomplishing will help you use the style deliberately.
6. Will-o’-the-Wisp Style: crossing between planes
Will-o’-the-Wisp moves between physical and astral planes. Its defining idea makes timing and awareness especially interesting things to investigate.
Pay attention to what changes when you use the form’s actions and what remains dangerous afterward. Do not assume a visual transition tells you everything about protection or vulnerability. Test the behavior against something you understand, then build your approach around what you can reliably observe. That is a stronger foundation than guessing from the name.
5. Cyclops Style: big commitments
Cyclops specializes in powerful, all-or-nothing attacks. Look for an opening you can explain before making that commitment.
Watch a target long enough to distinguish its preparation from its recovery. If the large attack fails, ask whether the timing or starting position was the problem. Changing one of those variables gives the next attempt a purpose. A heavy form becomes easier to understand when you treat each attempt as a deliberate decision rather than repeatedly hoping for a better result.
4. Snow Fairy Style: freezing enemies
Snow Fairy uses freezing powers against opponents. Learn what a successful freeze allows you to do next.
Try observing the effect before automatically launching the longest attack you know. You may want to change position, identify another threat, or prepare a more comfortable follow-up. Keep the experiment small enough to repeat. Understanding the opportunity created by a control effect matters as much as recognizing the moment it appears.
3. Merfolk Style: moving through the ground
Merfolk treats the ground like water, diving through it to attack foes. That gives you a distinctive way to approach positioning.
Before diving, identify the target and the area you want to occupy afterward. Repositioning is easier to learn when it has a destination. If you keep losing track of enemies during the movement, simplify the encounter and practice entering from a consistent starting point. Once you can predict where the action leaves you, expand the sequence.
2. Lich Style: commanding skeletons
Lich draws on death-related powers to command skeletons. Begin by learning how those actions connect with Davy’s own movement.
Keep watching the main threat while you experiment. An attack involving additional figures on screen can make it tempting to stop tracking the enemy you originally meant to control. Test a simple sequence, check the outcome, and only then add more actions. The aim is to understand how the style supports your next decision.
1. Demon Style: whips and enemy placement
Demon uses whips and gravity to influence enemy positions. Where a target ends up is part of the point.
Look beyond the initial hit. Ask whether the movement leaves you with a clear route, a manageable group, or an opportunity you can follow through on. Be equally willing to notice when a target lands somewhere awkward. A positioning tool is easier to judge when you decide what a helpful result would look like before using it.
Style Eat sits alongside Body Hack customization and Davy Burst, so a style is one part of the overall setup. Our earlier Stupid Never Dies overview provides background on the original announcement. Start by learning one form well, then compare the next one against a task you already understand.